
Voice-over
Beginner Last updated Jul 10, 2026
On this page
Every dialogue line, bark and idle bark can carry voice-over. The build’s resolve-audio stage synthesizes (or imports) one audio asset per line, per language, and the facial stage then bakes lip-sync from that audio (see Facial animation).
Providers
Three interchangeable providers, selected in the Voice/Build tabs:
| Provider | What it is | Cost |
|---|---|---|
| Provided | You drop WAV files named after line ids under VO_Source/<culture>/ | — |
| OmniVoice | A local HTTP TTS server; one-click Setup & Launch from the Voice tab | free, local |
| ElevenLabs | Cloud TTS with your API key | your account |
Nothing is bundled and nothing phones home: OmniVoice runs on your machine, ElevenLabs uses your key, and with Provided WAVs the plugin works fully offline.
Assigning voices
Voices are assigned per speaker and per language on the Voice tab: the same character can have an English voice and a differently-cast Russian voice. Audition a single line, regenerate one line, or batch-synthesize everything missing.
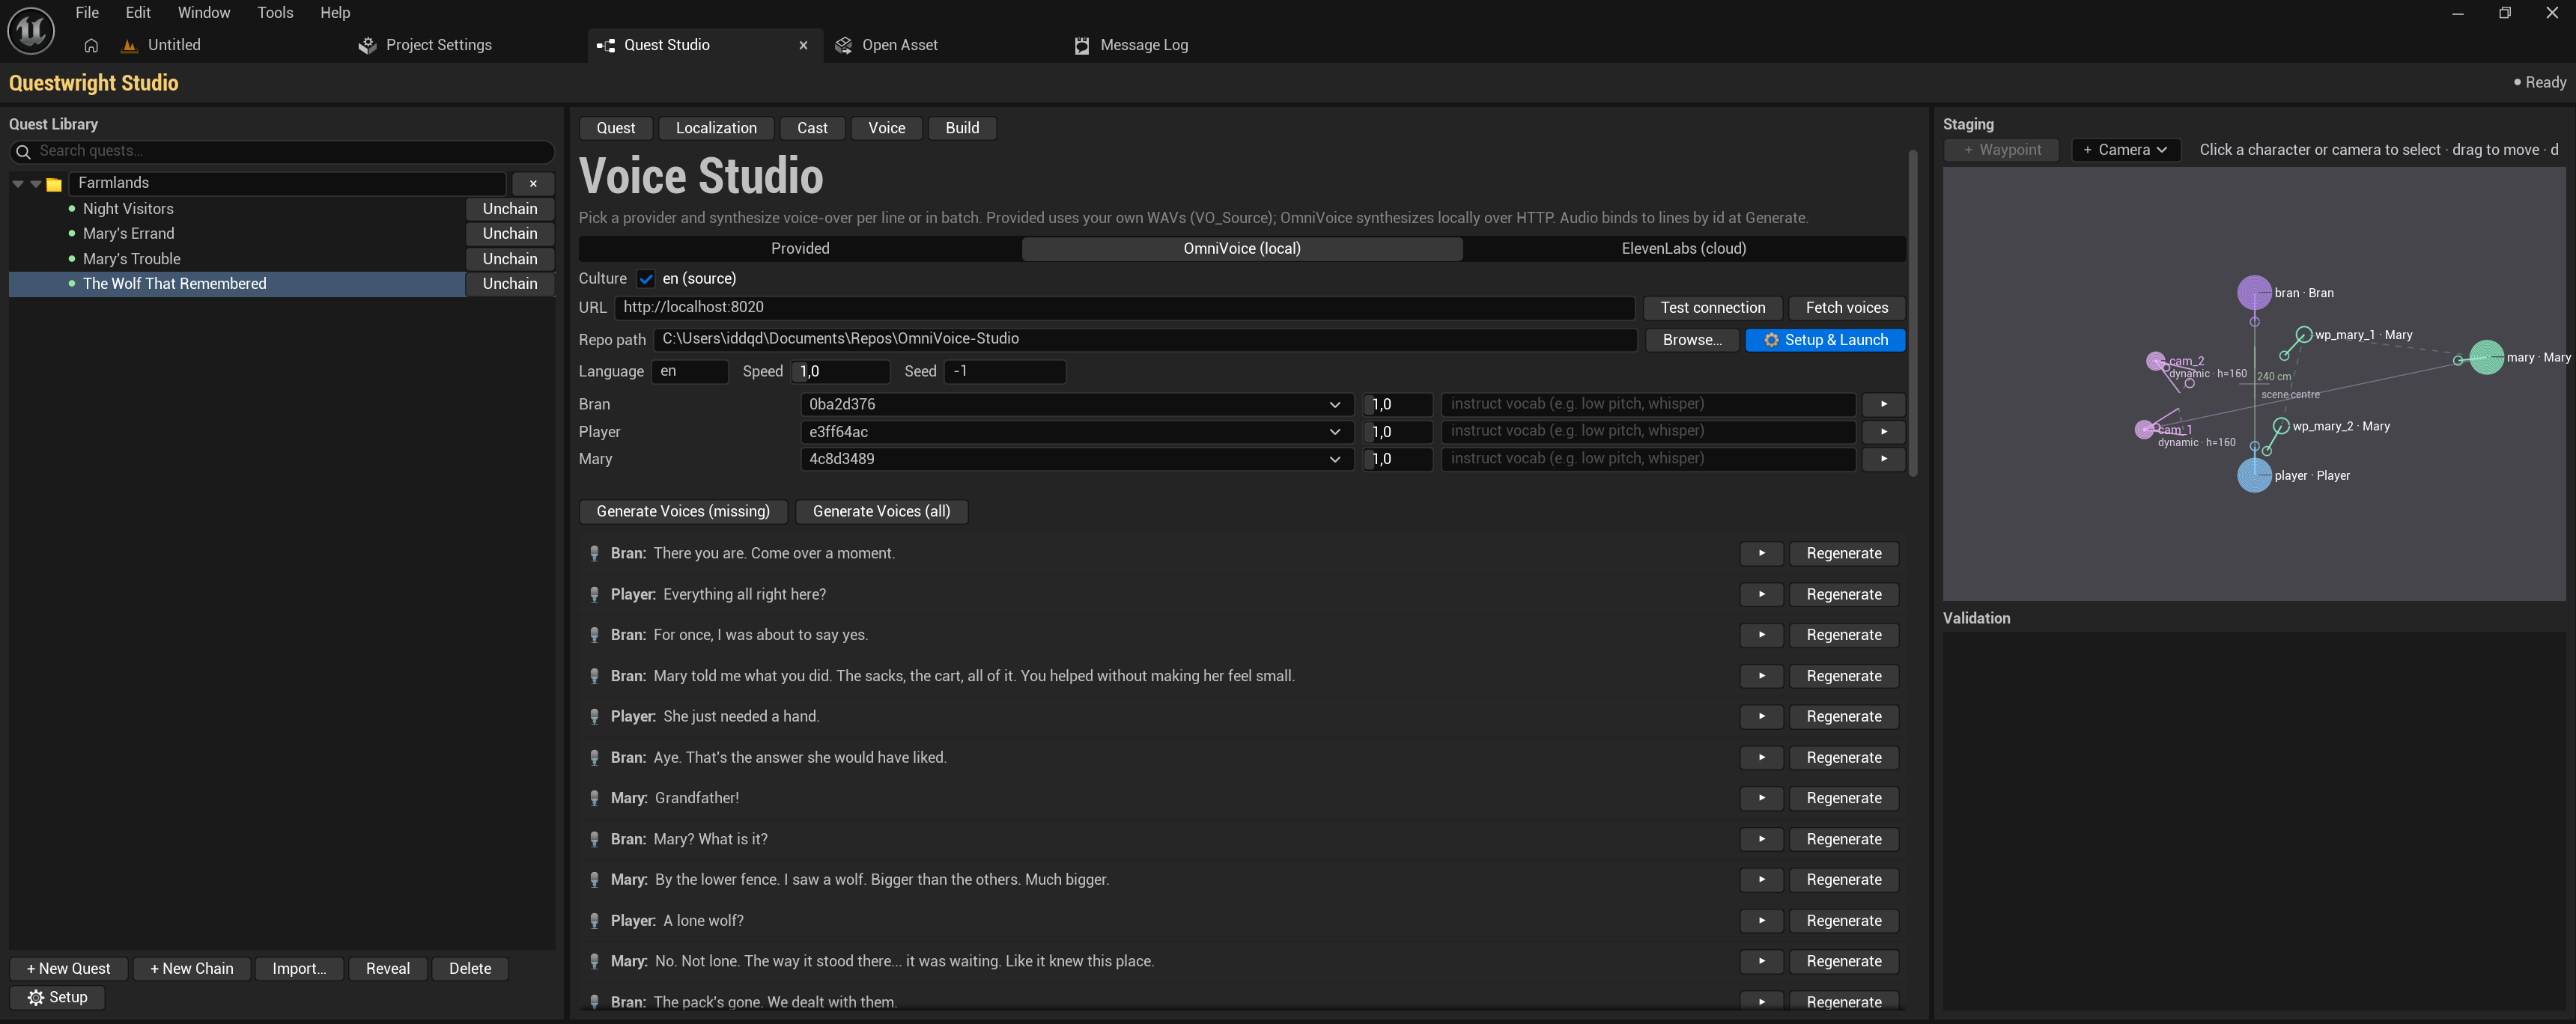
Synthesis is idempotent: already-voiced lines are skipped on rebuild, changed lines are
re-synthesized, and audio for deleted lines is pruned. Generated sound assets are named after
the stable line ids (<Step>_<line>_<Speaker>), which is why ids must never be renumbered.
OmniVoice setup
OmniVoice is an open-source local TTS server: github.com/debpalash/OmniVoice-Studio. Clone or download that repository anywhere on your machine — the Studio takes it from there.
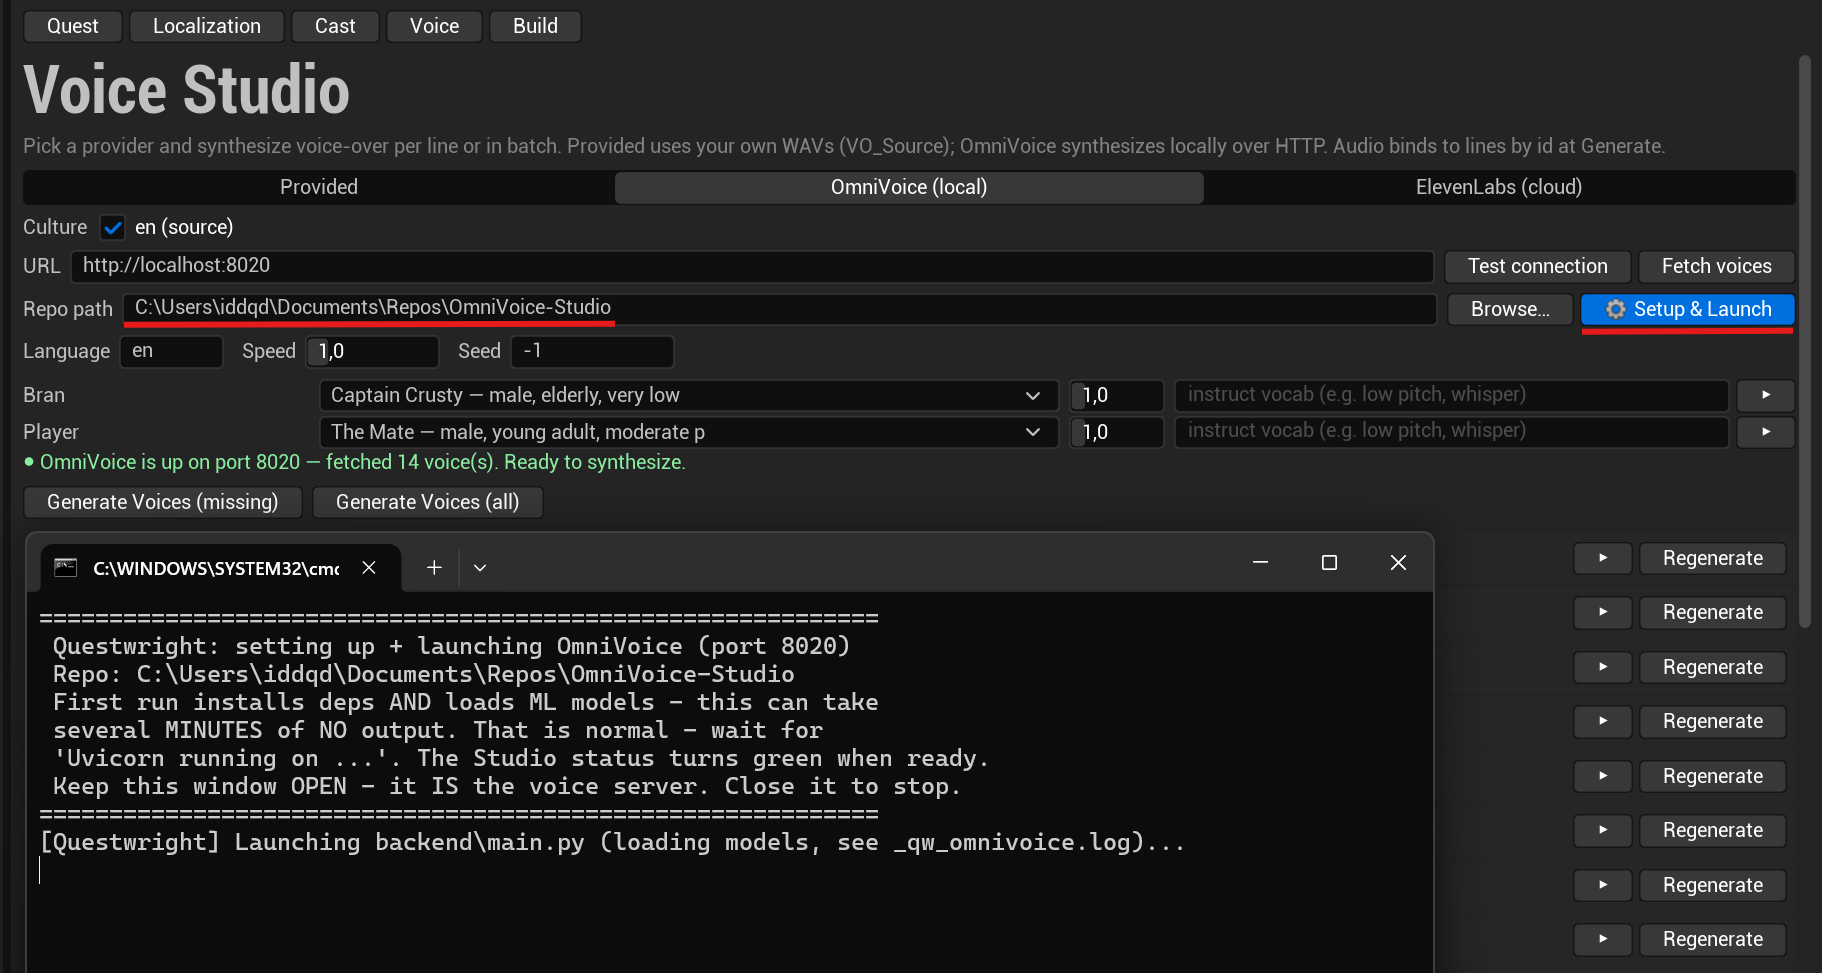
Point Repo path at the downloaded repository and press Setup & Launch (needed only if
you haven’t started the server yourself beforehand — with an already-running server just leave
the URL pointing at it). The button installs the dependencies and starts the server, handling
the console-environment pitfalls that break a hand-rolled launch; the first run also downloads
the ML models and can take several minutes with no output. Wait for the status line to turn
green. If the server won’t start, check _qw_omnivoice.log next to the server files.
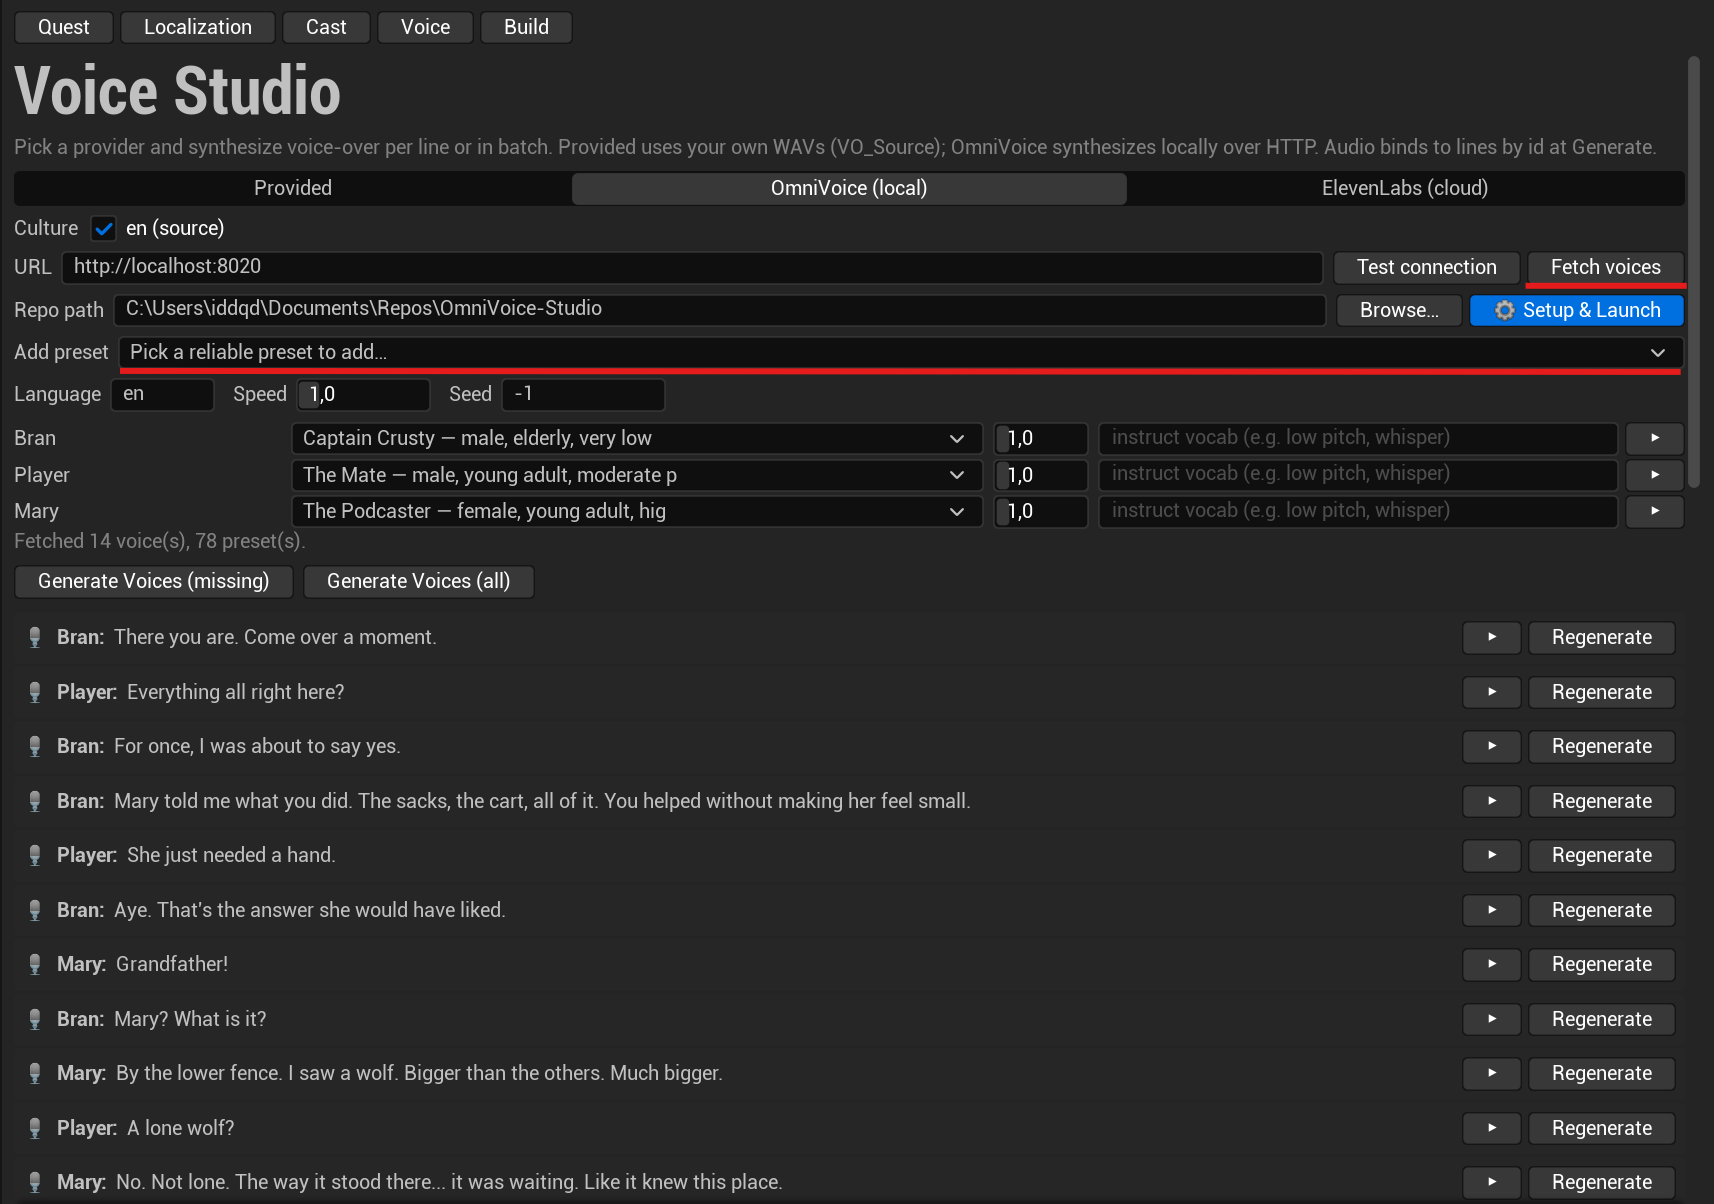
With the server up, press Fetch voices to pull every speaker the server currently offers into the per-speaker voice dropdowns.
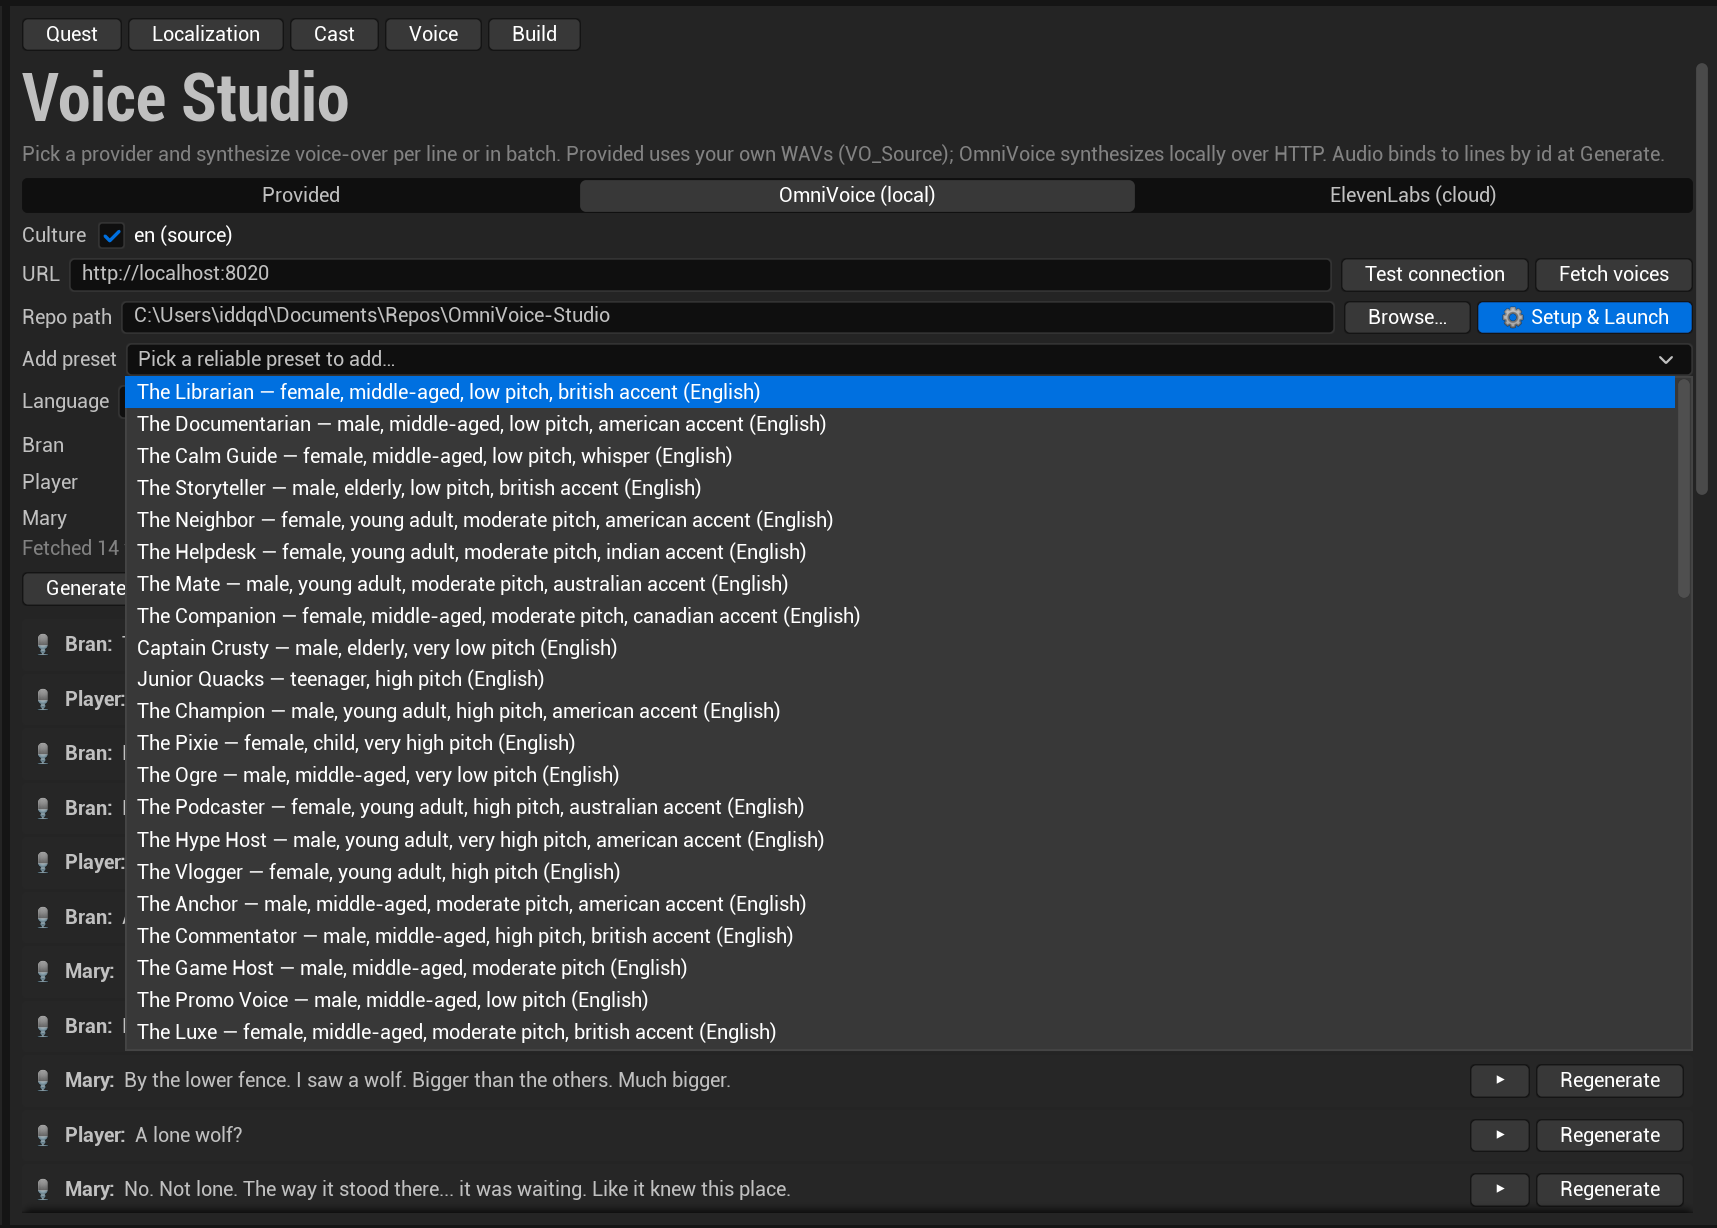
Need more variety? Open the Add preset dropdown, which lists the server’s curated voice presets, and pick the one you want — after the click it automatically appears as an option in your speakers’ voice dropdowns.
Where the configuration lives
The per-culture provider/model and per-speaker voice map are project settings: the Voice tab
edits Project Settings → Plugins → Questwright Studio (BuildCultures, VoiceByCulture),
stored in DefaultGame.ini so the whole team shares them. See the
Settings reference.
API keys are never stored in project files. Keys live in a per-user ini (git-ignored) with
an environment-variable fallback (QW_ELEVENLABS_KEY), which is safe for teams and CI.
Your own recordings
To use recorded VO, pick the Provided provider and drop WAVs named after line ids under
VO_Source/<culture>/. Mixing is fine: synthesize placeholders with OmniVoice during
production and swap in studio recordings later; the ids don’t change, so nothing else does.